There are few things better than exploring a new country on your own bike. It’s the feeling of freedom as you climb a mountain pass in the Alps or cruise along a coastal road in Spain, all on the bike you know and trust. But between you and that dream ride is one major hurdle that causes anxiety for almost every cyclist: packing your beloved bike and handing it over to an airline.
It can feel daunting, but it doesn’t have to be. With the right preparation and a clear, step-by-step process, you can pack your bike securely and travel with confidence, knowing it will arrive safe and sound. This guide will walk you through everything you need to know to demystify the process.
Before You Pack: Planning Your Bike’s Journey
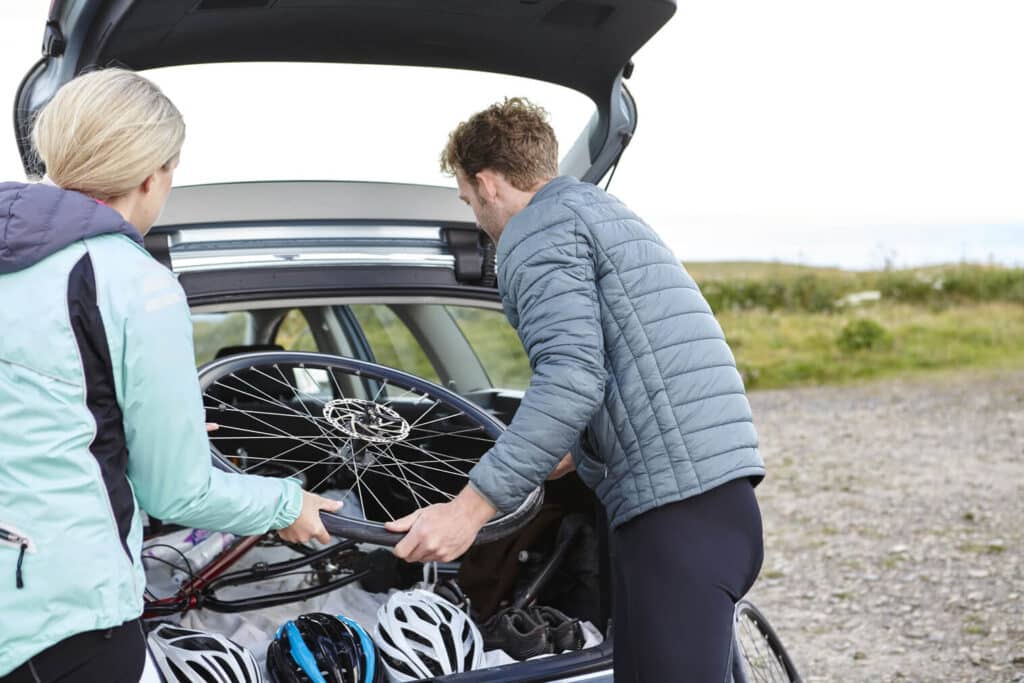
Before you even touch a tool, a little bit of planning will save you a world of stress and potentially a lot of money.
Check Your Airline’s Bike Policy
This is the most important first step. Every airline has different rules for flying with a bicycle. Before you even book your flight, go to the airline’s website and look up their policy for “sporting goods” or “oversized baggage.” You need to know:
- The Fees: Some airlines charge a flat fee (e.g., $150 each way), while others treat it as just another checked bag.
- The Weight Limit: Most airlines have a weight limit (usually around 50 lbs / 23 kg) before they charge steep overweight fees.
- Embargoes: During peak travel seasons, some airlines place embargoes on oversized baggage, meaning they won’t accept bikes at all.
Knowing this information before you book can help you choose an airline that is more bike-friendly.
Choose Your Packaging: Bike Box vs. Bike Bag
You have three main options for packing your bike, each with its own pros and cons.
- Hard Case: This is the gold standard for protection. These rigid plastic cases are incredibly durable and will give you the most peace of mind. However, they are also the most expensive option, the heaviest, and can be bulky to store at your destination.
- Soft Bag: A padded soft bag is a great middle ground. It’s much lighter than a hard case, easier to store, and often includes wheels for easier transport through the airport. The trade-off is that it offers less protection from major impacts.
- Cardboard Box: This is the cheapest option. You can often get a cardboard bike box for free from your local bike shop. It’s lightweight, but it’s also the least protective. It’s vulnerable to rough handling and won’t survive a rainy day on the tarmac. It’s best considered a one-time-use option.
What You’ll Need: Your Toolkit and Supplies
Gathering your tools before you start will make the process much smoother. Here’s a basic list:
- Allen keys (or a good bike multi-tool)
- Pedal wrench
- Zip ties
- Bubble wrap or foam pipe insulation
- Packing tape
- A rag for cleaning
- A small bag for loose parts (like pedals and skewers)
How to Pack Your Bike: A Step-by-Step Guide
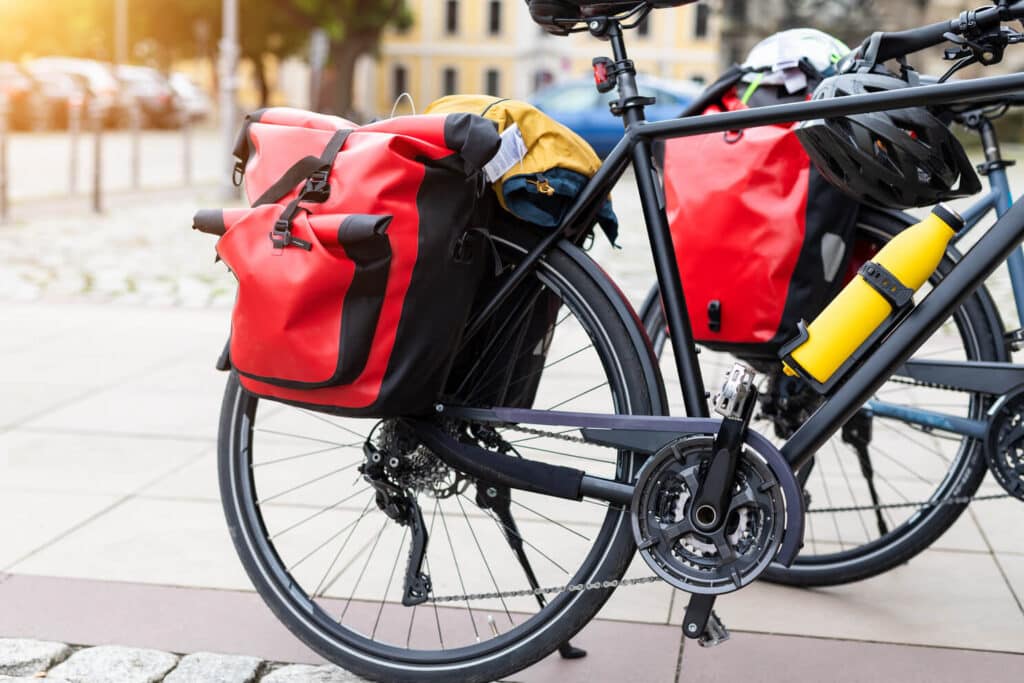
Here’s a simple, step-by-step guide to breaking down and packing your bike safely.
Step 1: Clean Your Bike
Start by giving your bike a good clean. A clean bike is much easier and more pleasant to work on, and it will prevent grease and dirt from getting all over your other gear and the inside of your bike bag.
Step 2: Remove Pedals, Seatpost, and Handlebars
- Pedals: Use your pedal wrench to remove the pedals. Remember, the right pedal unscrews counter-clockwise, and the left pedal unscrews clockwise.
- Seatpost: Mark your seat height with a piece of tape on the post before you remove it. This will make reassembly a breeze. Loosen the clamp and pull the seatpost out completely.
- Handlebars: You don’t need to disconnect the cables. Simply unbolt the handlebars from the stem and secure them alongside the frame with zip ties or padding.
Step 3: Deflate Your Tires (Partially!)
This is a common point of confusion. Most airlines require you to let some air out of your tires to prevent them from blowing out with the change in air pressure. You don’t need to fully deflate them—letting out about half the air is plenty.
Step 4: Protect the Frame and Components
This is where the bubble wrap comes in. Wrap the main tubes of your frame with padding. Pay special attention to the rear derailleur—it’s one of the most vulnerable parts. Shift the chain to the biggest cog in the back, which will pull the derailleur inward, and wrap it securely.
Step 5: Secure Everything in the Box or Bag
Carefully place the frame in the box or bag. Place the wheels on either side (most bags have dedicated wheel compartments). Secure the handlebars and any other loose parts so they can’t move around and scratch the frame during transit. Use zip ties to keep everything snug and in place. Put your pedals, skewers, and any bolts in a small, clearly labeled bag.
At the Airport and Upon Arrival
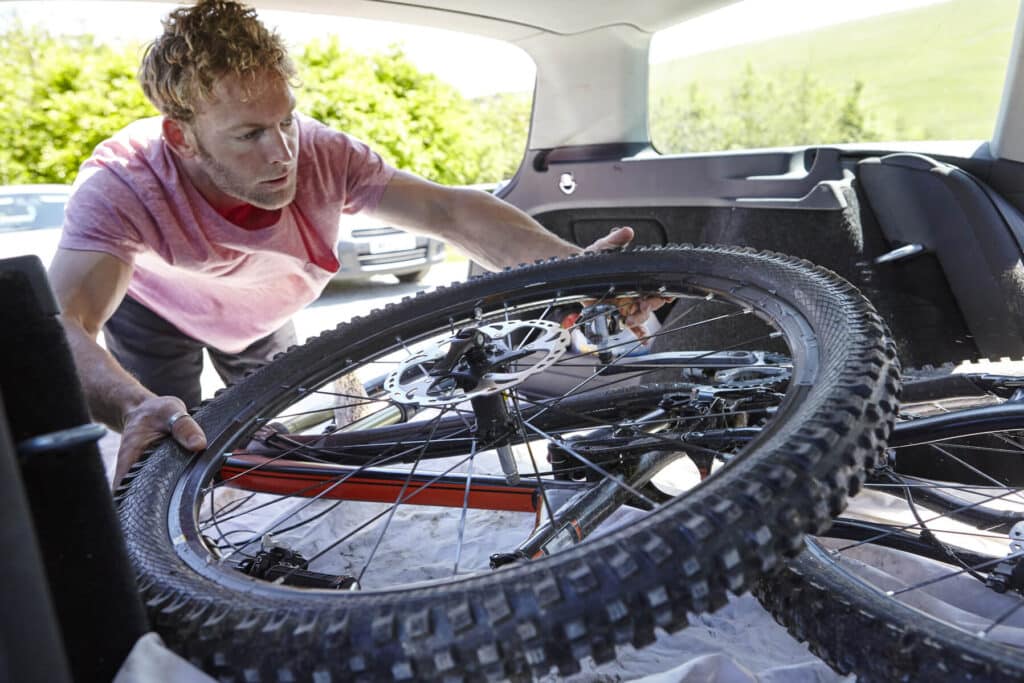
Your bike is packed. Now for the journey itself.
Checking In Your Bike
When you get to the airport, you’ll need to take your bike to the oversized baggage counter. Give yourself some extra time for this, as it can sometimes take a bit longer than a standard bag drop.
Reassembling Your Bike
Once you arrive at your destination, find a clear space to unpack. Carefully inspect your bike for any damage that may have occurred during the flight before you leave the airport. And remember to pack your tools in your checked luggage, not your carry-on! Follow your packing steps in reverse, and thanks to that piece of tape on your seatpost, you’ll have your bike rebuilt and ready to ride in no time.
Staying Healthy on a Cycling Trip

Long days in the saddle in a new country can take a toll on your body. Here’s how to stay healthy.
Dealing with Common Cycling Ailments
On a multi-day cycling trip, it’s common to deal with minor issues like saddle sores, muscle strain from big climbs, or dehydration. Listen to your body, stay on top of your nutrition and hydration, and don’t be afraid to take a rest day when you need it.
What to Do If You Have a Fall
Even a small fall can result in road rash that needs proper cleaning or a sprain that needs to be checked out. Finding a doctor in a new country can be stressful, especially if you’re in a small town. This is where a service like Air Doctor can be invaluable. The app can help you connect with a local, English-speaking doctor for a consultation. They can help you properly clean a wound to prevent infection or assess an injury, giving you the peace of mind you need to either get back on the bike safely or make a plan for recovery.
In Short
- Always check your airline’s bike policy for fees and weight limits before you book.
- A dedicated bike bag or hard case offers the best protection for your bike.
- Take your time packing, and use plenty of padding on your frame and components.
- Give yourself extra time at the airport to check in your oversized baggage.
- Have a plan for staying healthy and know how to get medical help if you have a fall.
About Air Doctor
With the Air Doctor app in your pocket, you can access medical care and receive expert medical guidance anywhere you travel.
Air Doctor offers a wide range of benefits, including:
- A global network of multi-lingual doctors and specialists
- Choice of clinic, at-home (hotel), and video consultations
- 24/7 multi-lingual support
- Transparent pricing and reviews
- Most common medical specialties, including cardiologists and pulmonologists
FAQs
Yes, most airlines require you to partially deflate your tires. This prevents them from bursting due to pressure changes in the cargo hold. You don’t need to let all the air out, just enough to reduce the pressure.
It varies widely by airline. Some treat it as a standard checked bag, while others charge a specific sporting goods fee, which can be $150 or more each way. Always check the airline’s policy before booking.
A hard case offers the best possible protection but is heavy and expensive. A soft bag is lighter and easier to store but provides less protection. The choice depends on your budget and how much risk you’re comfortable with.
Yes, absolutely. Using the extra space in your bike box for soft gear like your helmet, shoes, and cycling clothes is a great way to add extra padding for your bike and save space in your other luggage. Just be mindful of the airline’s weight limit.